
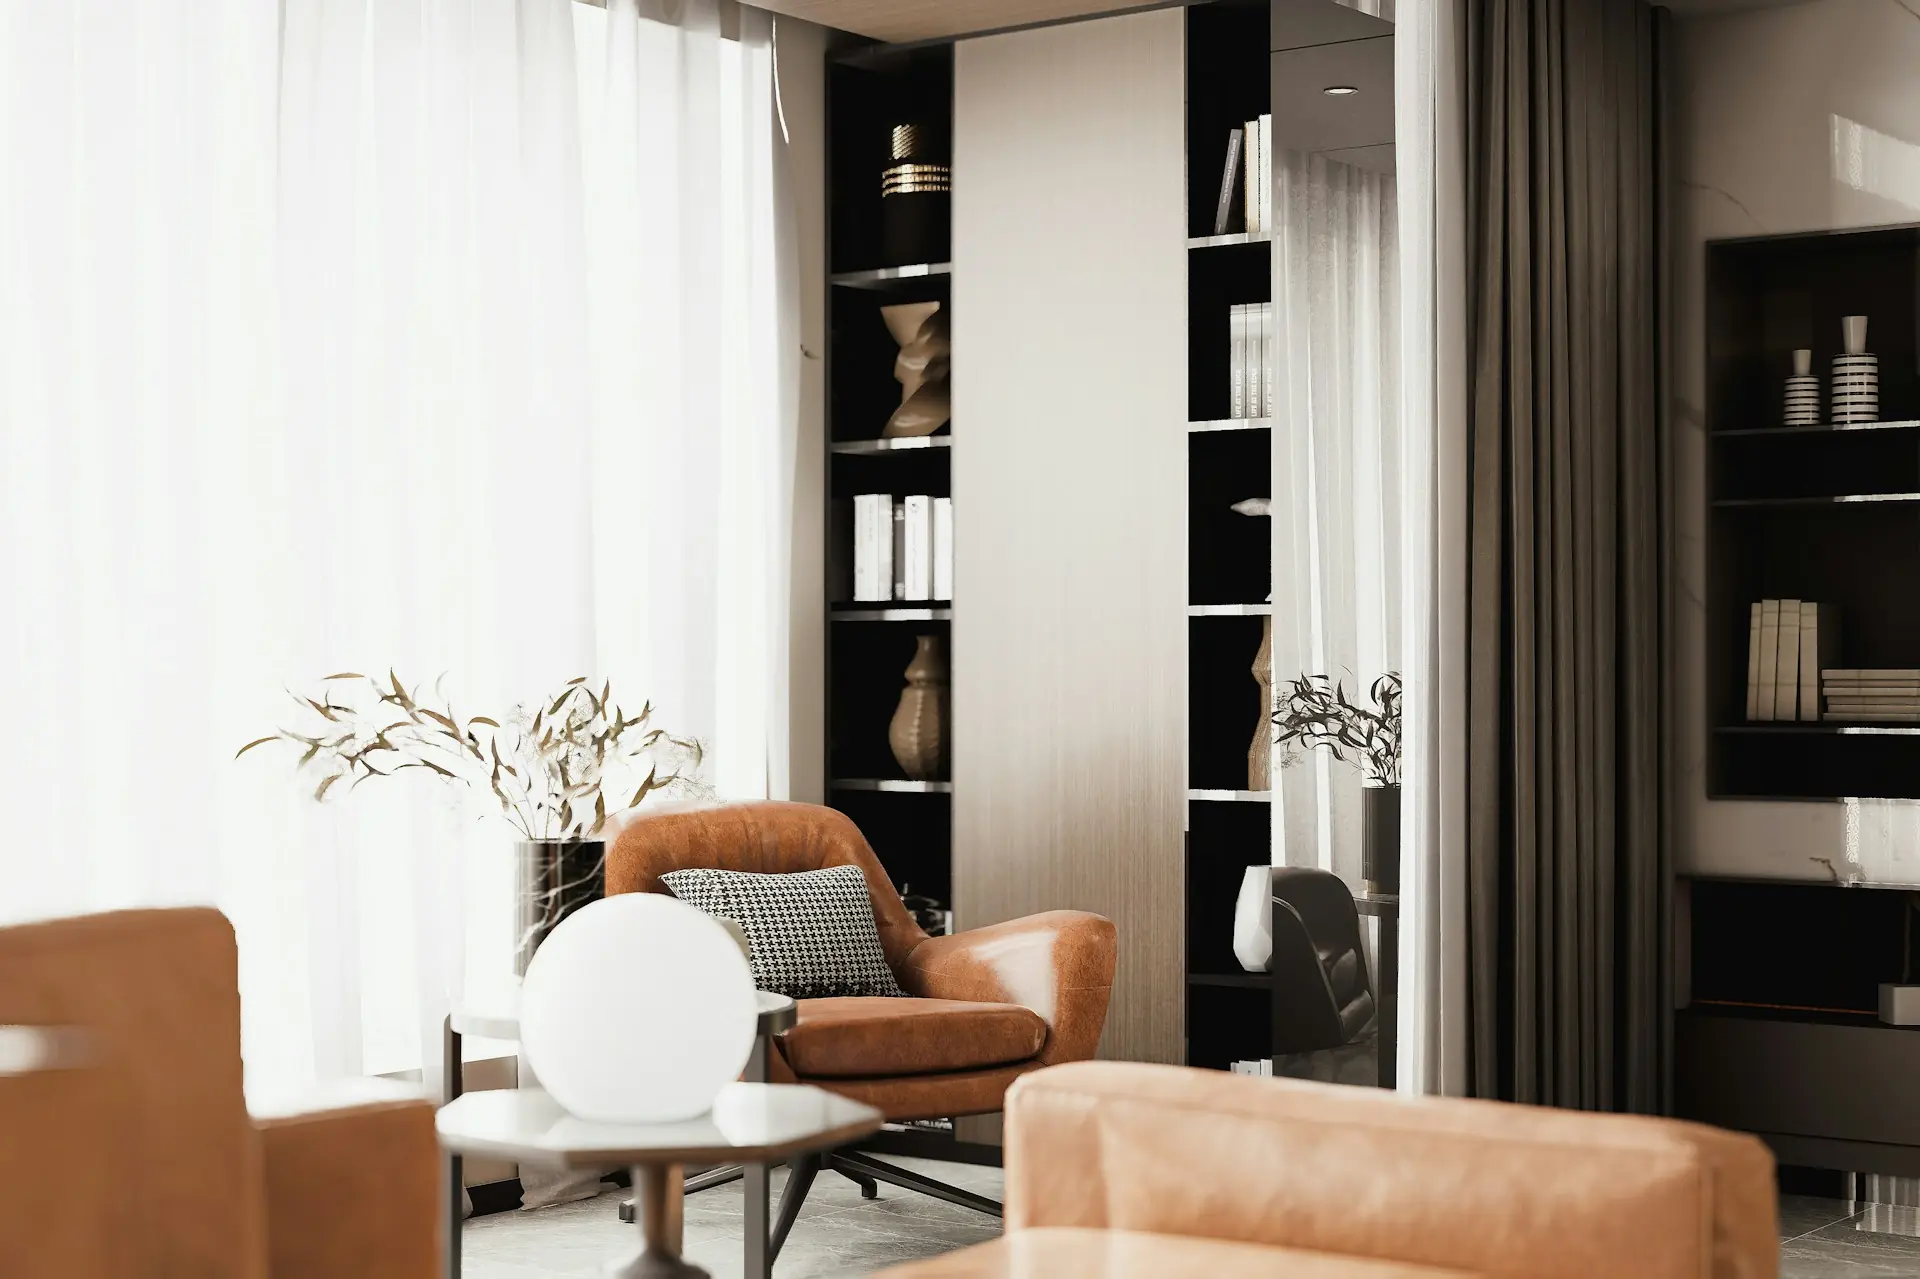
You close on a new unit in Streeterville or River North, and the view sells itself. Then you start living in the rooms. The kitchen fronts look like every other unit on the floor, the closet is a single rod and shelf, and the ceiling is bare concrete with one lonely junction box.
In most new tower units, the biggest change for the money comes from keeping the developer’s good bones and replacing the pieces you touch every day: kitchen fronts, closet systems, built-ins, doors and hardware, and a lighting plan written for a concrete ceiling. Good luxury apartment interior design in a Chicago tower works within fixed limits, like poured slabs, window walls, and building rules, and puts the budget where your hands and eyes land most.
What follows will help you decide which finishes to keep and which to replace. It also covers how to light rooms without a dropped ceiling, how to control glare from glass walls, and how to sequence custom work so each piece arrives when the installers need it.
Where Luxury Apartment Interior Design Meets Tower Constraints
In a new tower unit, the building sets the frame and your design fills it. Plumbing stacks, structural columns, slab ceilings, and the window wall are fixed. Almost everything else is open to change, and the first design task is sorting the two.
Start with the Layout, Views, and Window Walls
Begin with your daily path through the unit and where the views pull your eye. In a Gold Coast or Streeterville tower, the window wall is often the longest uninterrupted surface you have. That makes it the room’s focal point and its biggest limit, since you can’t hang cabinets or art there.
Map which walls are solid, where the columns fall, and where furniture can sit without blocking glass. That map decides where built-ins go, where the television lives, and which walls carry art.
Identify Which Developer Finishes Are Worth Keeping
Many developer packages include solid basics. Engineered wood floors, quality appliances, and well-built cabinet boxes are often worth keeping. The weak points tend to be the surfaces: flat slab fronts, thin hardware, hollow-core doors, and wire closet shelving.
Walk the unit and sort each finish into three groups: keep, refresh, or replace. A sound cabinet box with tired fronts is a refresh. A closet with one rod and a shelf is a replacement. That simple sort keeps you from tearing out parts that still serve you.
Plan Around Concrete Ceilings Before Choosing Fixtures
Many Chicago towers use exposed or skim-coated concrete slabs as the ceiling. Cutting or coring a slab, and a post-tensioned slab above all, needs the building’s approval and usually an engineer, because the steel tendons inside carry the structure. So in most units, light has to come from the surface, the walls, or the furniture.
That affects more than lamps. It shapes where you place cabinetry with integrated lights, whether you add a soffit in one zone, and how power reaches a dining fixture. Decide the lighting approach before you finalize built-ins, because the two share wiring paths.
Account for Glare Without Losing the View
Floor-to-ceiling glass brings in strong afternoon sun, especially on west and south exposures. Glare washes out screens and fades finishes over time. Layered window treatments solve most of it: a sheer or solar shade for daytime and a heavier drapery for evening.
Recessed shade pockets look cleanest, but they need ceiling depth that a slab unit may lack. A slim ceiling-mounted track or a fascia detail painted to match the ceiling is a common workaround. Choose matte or honed surfaces near the glass too, since polished stone and high-gloss lacquer bounce sunlight back at you.
Put the Budget Where It Shows
Spend first on what you see and touch daily. Kitchen fronts, entry doors, primary closet systems, and living room built-ins carry the most weight. Secondary bedrooms and utility spaces can wait for a second phase.
A useful test is to stand at the front door and list what you see first. Those surfaces set the tone for every room. If the budget is tight, upgrade those and keep the rest consistent but simple.
Write the scope down before drawings start: what changes, what stays, and what the building allows. Most towers have rules for contractor hours, elevator booking, and insurance, and the management office can give you those terms. How those rules shape a renovation is covered in more depth in this guide to condo interior design. A refresh of fronts and hardware is a different project from new closets, built-ins, and lighting, and the plan, budget, and schedule change with it.
Make the Kitchen and Storage Feel Built for the Unit
Custom cabinetry is the strongest signal that a unit was designed for its owner. When storage fits your belongings and your walls, the whole apartment reads as intentional.
Replace Generic Kitchen Fronts Without Reworking Everything
If the cabinet boxes are square and sturdy, new fronts can change the kitchen without moving plumbing or appliances. You keep the layout and swap doors, drawer faces, panels, and hardware. Flat veneer or painted fronts with integrated pulls suit most tower kitchens.
The catch is fit. Developer boxes don’t always follow standard sizes, so every opening needs field measurement. Hinge type and drawer slides matter too, since new fronts must mount to the existing hardware or replace it. Measuring in person is what prevents gaps and uneven reveals.
If the boxes are weak or the layout fights how you cook, a full replacement makes more sense. Weigh the two with your designer before you commit, because the answer changes the budget more than any finish choice. This look at custom kitchen cabinets breaks down what a full replacement buys.
Design Closets Around What You Actually Own
Count your hanging items, shoes, folded pieces, and bags before anyone draws a shelf. Then design the closet to hold that inventory with room to grow. Walk-in closets benefit most, since a stock rod-and-shelf setup wastes their depth and height.
Mix long hang, double hang, drawers, and adjustable shelves based on your counts. Add storage for items you rarely use, like a pull-down rod or upper cabinets for off-season pieces.
Plan the closet light at the same time. Under the 2018 Chicago Electrical Code, the closet size that triggers a required lighting outlet rose from 5 to 25 square feet, according to the city’s own training materials. A small reach-in may not require a light, but a walk-in will, and either one is easier to wire before the millwork goes in.
Use Built-Ins to Give Open Rooms a Purpose
Open plans in new towers often leave you with a large room and no clear zones. A built-in gives that space a job: a media wall, a desk niche, or a bench with drawers at the entry. Wood paneling on one wall can frame the zone and hide cables or a slim storage run.
Built-ins also anchor furniture placement, which matters when one wall is all glass. Keep them clear of the window wall so shades still operate, and leave access to any thermostat or panel the building may need to reach.
Repeat the same door style, reveal size, and edge detail in the kitchen, closets, and built-ins. When those details carry from room to room, the unit reads as one design. When they differ, each room looks like a separate purchase.
Decide Where Open Shelving Earns Its Place
Open shelving works where you want to display a few objects and reach daily items fast. A short run near the coffee station or a lit niche in a living room built-in fits that role. It works poorly near the stove, where grease settles, or where you store many small items.
If you add open shelves, plan their depth and support during design. Floating shelves need solid blocking behind drywall, which is easier to add before walls close up. Pair them with closed cabinets so the kitchen still looks calm.
Build a Lighting Plan That Works Without a Dropped Ceiling
You can light a slab-ceiling unit well by moving light sources to walls, furniture, and surface-mounted fixtures. The plan just has to be drawn on purpose, room by room.
Layer Ambient, Task, and Accent Light
Layered lighting uses three kinds of light together. Ambient light fills the room, task light hits work surfaces, and accent light picks out art or texture. In a tower unit, each layer needs a source that doesn’t depend on recessed cans.
For ambient light, consider cove lighting along a built-in or a surface track. Under-cabinet strips handle kitchen tasks. Adjustable heads on a ceiling track can light art and counters. One designer argues that well-placed track creates less ceiling clutter than a grid of recessed “high hats,” and some designers plaster the track into the ceiling so it reads as part of the surface.
Use Sconces and Decorative Fixtures Where Recessed Lights Cannot Go
Wall sconces bring light to eye level, which feels warmer than overhead light. Use them beside the bed, in hallways, and flanking a media wall. Each sconce needs a power feed, so mark their spots before walls are patched or paneled.
A chandelier over the dining table gives the room a center. In a slab ceiling, the junction box may not sit where your table goes. A canopy with a swag or an offset fixture can bridge the gap. Recessed lighting stays possible only where you build a soffit or a ceiling zone with depth.
Check Fixture Placement Against Windows and Built-Ins
At night, glass walls turn into mirrors. Bright fixtures near the window reflect back and compete with the city view. Aim accent lights away from the glass, and keep bare bulbs out of the reflection line.
Check each fixture against the cabinetry drawings as well. A pendant must clear an upper cabinet door when it swings open. A sconce needs a flat panel to mount on.
Choose Controls That Adapt from Daylight to Evening
Tower units swing from full sun at noon to dark glass at night. Dimmers on every layer let you tune the room through the day. Group fixtures into scenes, such as “evening,” “cooking,” and “away,” so one switch sets the mood.
If you plan motorized shades, choose controls that run shades and lights together. Ask your electrician early about permits and drawings for your scope. The city’s training materials list dwelling occupancies in buildings taller than two stories among the cases where electrical plans are required, so a tower project with real electrical work should allow time for that step.
Choose Finishes and Details That Hold the Rooms Together
A small set of finishes, repeated with care, makes a unit feel finished. The goal is one standard that runs from the front door to the bedroom.
Use Doors and Hardware to Set a Consistent Standard
Interior doors are some of the most-touched surfaces in a unit, and builder doors are often hollow. Solid-core doors feel heavier, block more sound, and close with a softer sound. Taller doors, when the frame allows, make rooms feel more generous.
Choose one hardware family for the whole unit: levers, cabinet pulls, and hinges in the same finish. Brushed brass or blackened steel can carry from door levers to cabinet pulls. Order all hardware at once, since finishes can vary between production runs.
Select Stone and Wall Finishes for Both Appearance and Upkeep
Stone brings weight and depth, but each type asks for different care. Marble etches from lemon juice and wine, which some owners accept as patina. If you want a cleaner look over time, a quartzite or a honed dense stone holds up better in a busy kitchen.
On walls, textured or Venetian plaster adds soft movement that paint cannot. It suits a living room feature wall or a powder room. Plaster needs a skilled applicator and a flat substrate, so schedule it after electrical and before millwork installation.
Give the Bedroom Its Own Sense of Calm
A tower bedroom should feel quieter than the living space. Upholstered headboards, wood paneling, and heavy drapery soften the sound that bounces off glass and concrete.
Blackout shades matter more here than anywhere else, since city light glows all night. Built-in nightstands with drawers keep surfaces clear, and bedside sconces should have switches you can reach from bed.
Let the View Lead the Color and Art
With a skyline outside, the room already has a focal point. Keep large surfaces calm and use stronger color in small doses, such as a velvet chair or a deep-green cabinet interior.
Hang art on the solid walls that face the windows, where it greets you as you turn from the view. A few strong furniture pieces with space around them do more than a full room of smaller ones.
Turn Design Choices into a Coordinated Installation
A custom unit comes together when drawings, fabrication, and site work follow one schedule. Most problems in tower projects trace back to a detail decided too late or a vendor working from old drawings.
Review the Drawings and the Budget Together
Before anything is ordered, you should have three documents in hand. Space plans show furniture and built-in layouts. Elevations show each wall with cabinetry, lighting, and outlets. An itemized budget lists every piece with its cost.
Review them together. An elevation might show a sconce that the budget forgot, or a cabinet that blocks an outlet. This is the stage where good residential interior design catches problems while they still cost nothing to fix.
Resolve Fabrication Details Before Ordering
Custom pieces need final answers before production starts: species, finish, edge profiles, hinge types, and how each panel meets the wall. Field-verify every dimension after walls and floors are complete, since slabs and drywall are rarely perfectly flat.
This is where in-house fabrication pays off. TDL Custom builds custom millwork a short walk from where the drawings are made, so a question about a reveal or a hinge gets answered across a table instead of across three companies.
Schedule Procurement and Installation Around Lead Times
Order long-lead items first: stone slabs, custom lighting, and specialty hardware. Cabinetry fabrication follows once dimensions are locked. Installation then runs in a set order: electrical, wall finishes, cabinetry, stone, fixtures, and window treatments.
Tower logistics add a layer. Freight elevators must be booked, and large panels must fit the elevator cab and hallway turns. Measure the elevator and corridors before you size big pieces.
Upgrades That Earn Their Place in a New Tower
In a new tower, luxury apartment interior design comes down to the upgrades you touch and see every day, built to fit your unit exactly. In most new towers, that means kitchen fronts, closets, a lighting plan for the slab ceiling, and one standard for doors and hardware. Those choices often do more than a full gut, and they respect what the developer got right.
Watch the sequence. Lighting, built-ins, and plaster depend on each other, so a late decision on one can undo another. If you bought before move-in, use that window: walls are easiest to open while the unit is still empty.
When you are ready to make the unit yours, Threshold Design Lab, which handles luxury interior design in Chicago from drawing to install, can walk it with you, sort the keepers from the replacements, and draw a plan the building will approve.
Frequently Asked Questions
Which upgrades make a new luxury apartment feel less generic?
Custom kitchen fronts, fitted closet systems, solid-core doors with matched hardware, and living room built-ins make the biggest difference. These are the surfaces people see and touch daily. A layered lighting plan then ties them together.
Can apartment lighting improve if the ceiling is concrete?
Yes. Surface-mounted track, wall sconces, cove lighting in built-ins, and under-cabinet strips can replace recessed cans. Power locations should be planned before walls are patched or paneled.
Should developer-grade kitchen cabinets be replaced, or just the fronts?
Replacing only the fronts works if the boxes are square, sturdy, and laid out well for how the household cooks. If the boxes are weak or the layout fights the routine, full replacement is the better spend. Field measurement of every opening comes first either way.
How can glare from floor-to-ceiling windows be reduced without blocking the view?
A sheer or solar shade for daytime layered with heavier drapery for evening handles most glare. Solar shades cut glare while keeping the skyline visible. Matte or honed finishes near the glass keep surfaces from reflecting sunlight.
What should be decided before custom closets and built-ins are fabricated?
Final dimensions, species, finish, hardware, and lighting locations should be locked before production starts. An inventory of what will be stored gives every drawer and rod a purpose. Large panels also need to be checked against the building’s freight elevator and hallways.